
Christmas Tree Sugar Cookies – Shugary Sweets


There’s truly nothing more festive and cheery than these melt-in-your-mouth Christmas Tree Sugar Cookies. Make it an occasion by decorating them with loved ones, and in under 2 hours, you’re sure to become Santa’s favorite stop!
Love holiday treats? Our christmas tree rice krispie treats are an easy no bake dessert that kids and adults love. Or give our holiday scotcheroos a try next!

Why these Cookies are Best
These sugar cookies are a winner for any seasonal gathering. Here’s why you’ll love them,
- The inclusion of lime juice and zest makes for a unique and irresistible flavor.
- Royal icing makes this recipe effortless to package without any mess.
- Get artsy! Flexibility to make this recipe highly decorated or keep it simple.
- You have the option to make these cookies ahead of time and decorate them later.
If you love decorating cookies for holidays, you’ll have to try our Halloween Monster Cookies. Or give our fun Jack O Lantern cookies a try next. And of course, our candy corn cookies are a delicious treat.

Ingredient Notes
For The Cookies:
- All-Purpose Flour – You won’t need fancy baking flour for these cookies. Any all-purpose flour will do. It has the perfect protein content to create that melt-in-your-mouth texture we’re striving for. Of course, use our guide on how to measure flour properly.
- Lime – We’ll be juicing and zesting it. Think of lime (you can use lemons as well) as your secret ingredient with a bright bursting flavor that will cut through the overwhelming sweetness of a traditional sugar cookie. If you prefer a different flavor profile, feel free to substitute with vanilla extract. Use our guide on how to zest a lemon if you’re unsure.
- Unsalted Butter – Stick with “unsalted” butter, so that the cookies don’t get over-salted. You’ll want the butter to be at room temperature and completely softened before beating it with the sugar and lime to achieve the best creamy consistency. We’ve got tips and trick on how to soften butter quickly if you need help.
For The Royal Icing:
- Egg Whites – Royal icing is traditionally made with egg whites since their inclusion speeds up the time it takes for the icing to harden. Alternatively, you could swap the egg whites for 3 tablespoons of meringue powder combined with 9 tablespoons of warm water and achieve the same result.
- Powdered Sugar – I use powdered sugar for this recipe instead of granulated sugar because it dissolves much quicker, and you’ll end up with a smooth consistency instead of a grainy one. You could even sift the powdered sugar into the beaten egg whites to ensure a perfect consistency every time.
- Food Coloring – Use pink gel food coloring to create a classic iced sugar cookie look, like the frosted animal crackers you loved as a kid or the cakey cookies you’d find in your grocery’s bakery section. And you don’t have to stick with pink – try green for a festive look, or robin’s egg blue for a chic Instagrammable look. Have fun with it!
Easy Instructions

For The Cookies:
- Combine Dry Ingredients
- Beat Butter, Sugar, & Lime Juice – It doesn’t need to be as fluffy as if you were making chocolate chip cookies because we are going for a less cakey consistency here, but it should be smooth, creamy, and glossy.
- Incorporate The Eggs
- Add Dry Ingredients In Batches – Once the flour mixture is incorporated into the butter, and the dough has formed and is pulling away from the sides of the bowl, you’re ready to move on to the next step.
- Chill – Scrape your dough into the center of a large sheet of plastic wrap. Form it into a flattened disc, so it will chill evenly and be easier to roll out once cold. Refrigerate the dough for at least an hour, or freeze it now and then thaw it whenever you’re ready to get baking!
- Cut – After chilling your dough, you can roll it out and cut it into shapes. Place it on a lightly floured surface, so the dough doesn’t stick. Too much flour can alter the consistency of the cookies, so don’t use too heavy of a hand here. You’re looking to achieve about ¼ thickness for the dough. I’ve used a 3-inch Christmas Tree shaped cookie cutter for this recipe, but you can use any shape you’d like.
- Bake – Move your cut-out cookies to a parchment-lined baking sheet and bake at 350 degrees F for 12-14 minutes. Let them cool completely before icing them.
PRO TIP: Any scraps can be smooshed back together and rolled out again to get more cookies, but you won’t want to repeat this process more than once, or else the cookies will become tough.
How to Make Royal Icing
- Beat Egg Whites – Begin by beating the egg whites in a stand mixer or with a hand mixer on high until foamy and frothy. You don’t want to go as far as soft peaks, so keep a close eye on them during this step.
- Incorporate The Sugar in Batches – At medium-low speed, add the powdered sugar to the egg whites in about ¾ cup batches. You’ll beat the mixture until it just begins to form peaks.
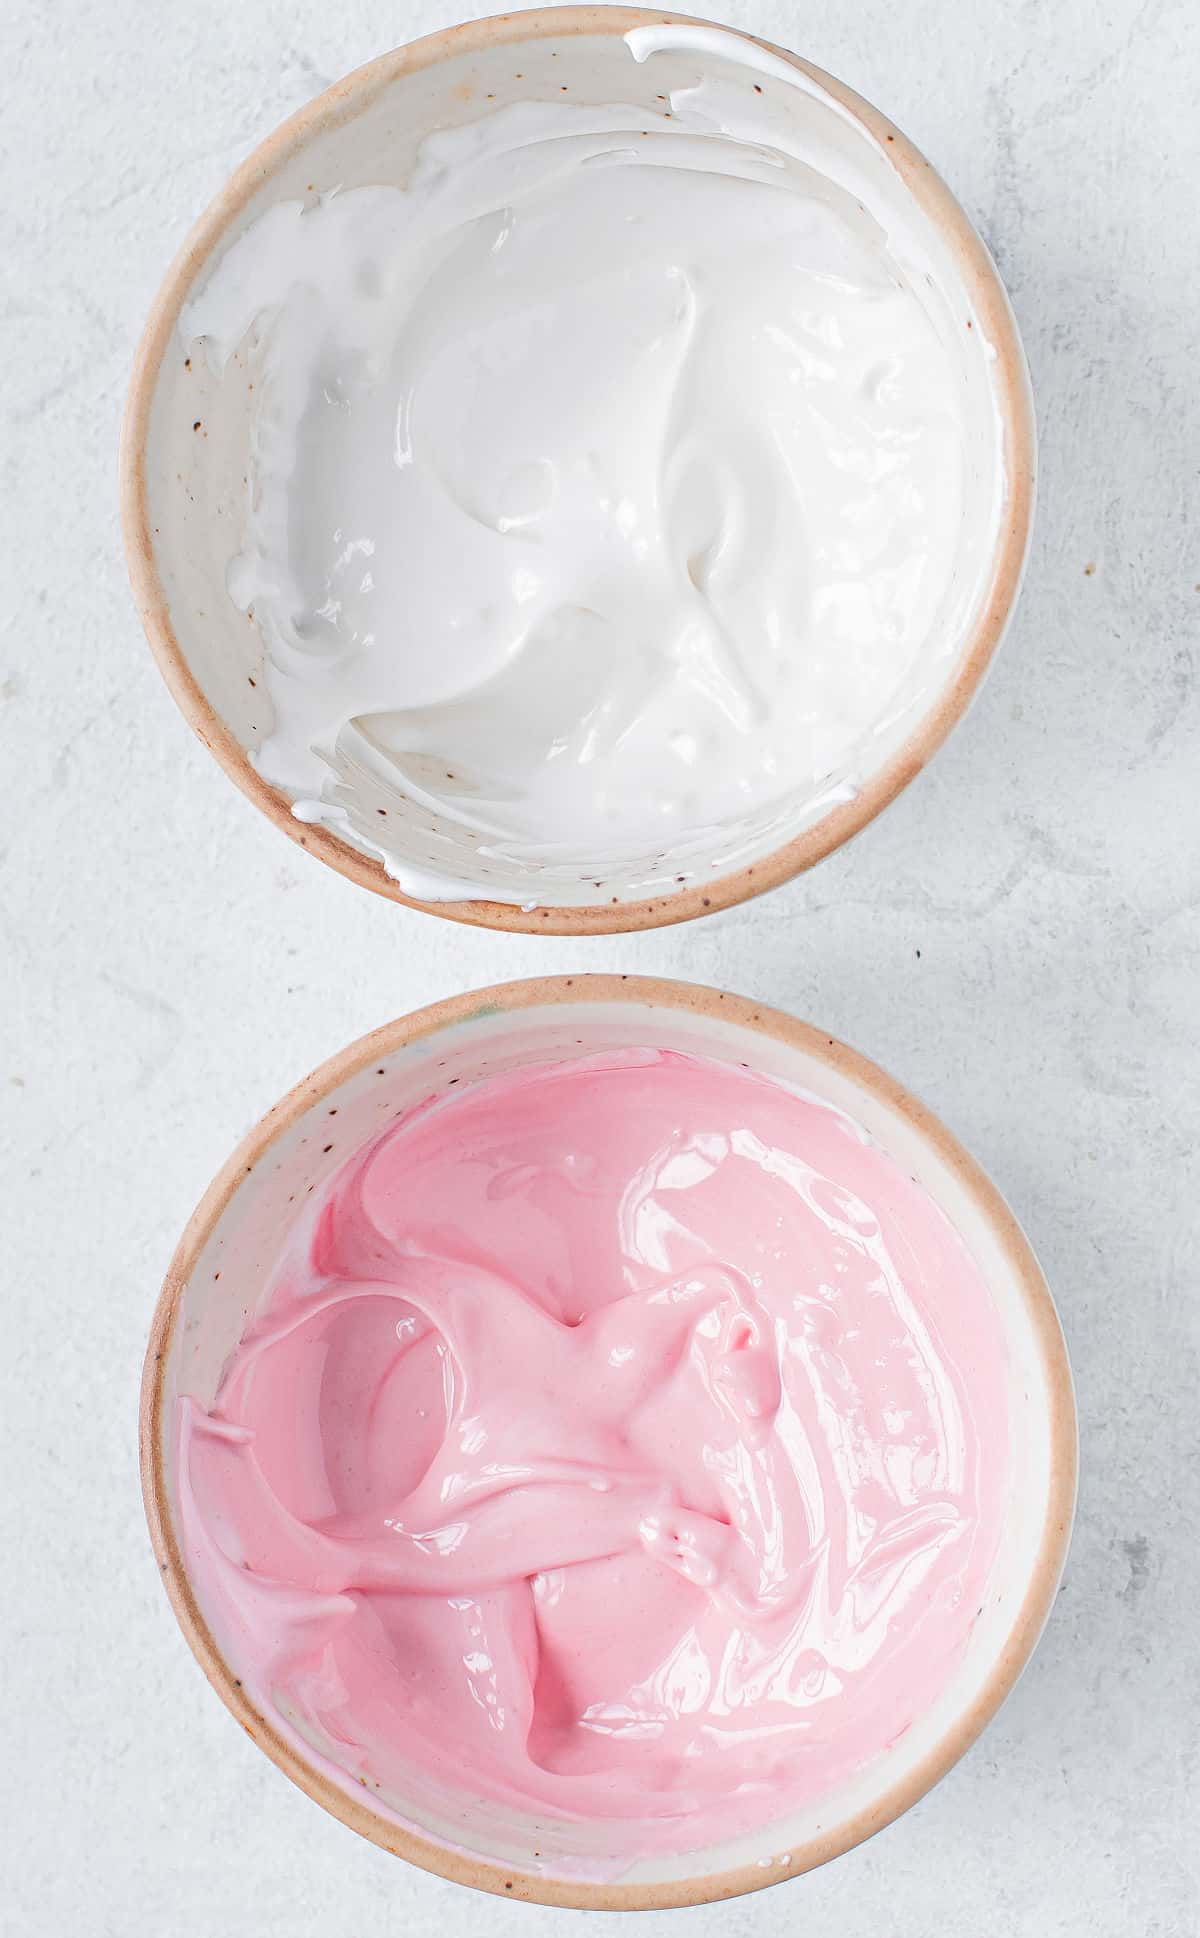
- Divide – Color the icing if you’d like and divide it evenly into two bowls. You’ll be keeping one of the bowls of icing as-is. You will use this thick icing to pipe a border around the outside of the cookies.
- Thin – Add 1-2 teaspoons of water to the other bowl of icing and mix well. This thinner icing is for flooding inside the border of the thicker piped icing to achieve a smooth, professional finish.
- Decorate – Move your icings to separate piping bags and decorate! Use the thick icing to pipe a border, and then use the thin icing to fill in that outline. Use a toothpick to move the icing into pockets that didn’t fill. If you want to add sprinkles, do that before the icing sets.

Tips and Tricks
- Chill the Dough. Cold dough will create crisp edges for your tree branches and will be less sticky and messy when trying to work with it.
- Add Flavor. For the royal icing, you can mix in 1 teaspoon of vanilla or almond extract after you’ve beat the sugar into the egg whites. You should never add extracts directly to raw eggs since the high alcohol content in extracts can start cooking the protein in egg whites leading to a grainy and stringy texture.
- Store. When using egg whites in icing, it’s best to store these cookies in the fridge. However, if you use meringue powder, you can keep the iced cookies at room temperature.
- If you’re not a fan of royal icing, to begin with, try out our sugar cookie frosting instead! Then, top it with holiday sprinkles, and your cookies will look and taste irresistible.
- Are you a planner? You can start stocking your freezer with these baked and frozen undecorated Christmas cookies as early as October. By the holiday season, you’ll have a stockpile of homemade cookies for co-workers, last-minute gifts, host or hostess presents, or entertaining.

Recipe FAQs
Both parchment paper and silicone baking mats will work in this recipe. Silicone baking mats achieve flawless, even cooking on even the worst baking sheets, but if you only have parchment paper on hand, that will still work like a dream.
Chilling the cookie dough before rolling out and cutting it is essential, so the dough isn’t overly sticky. This way, you’ll be able to get cleanly cut Christmas tree shapes with crisp edges and avoid a gluey mess of melted dough.
The cookie dough can be frozen and then thawed (but kept chilled) before use. Or, you could freeze the already baked and undecorated cookies, then thaw and ice them when ready.
More Holiday Desserts

There’s truly nothing more festive and cheery than these melt-in-your-mouth Christmas Tree Sugar Cookies. Make it an occasion by decorating them with loved ones, and in under 2 hours, you’re sure to become Santa’s favorite stop!
Ingredients
For the Cookies
- 4 cups all-purpose flour
- ¼ teaspoon kosher salt
- 1 lime, juiced and zested
- 1 cup unsalted butter, softened
- 1 cup granulated sugar
- 2 large eggs
For the icing
- 3 large egg whites
- 4 ½ cups powdered sugar
- pink gel food coloring
- sprinkles
Instructions
- In a large bowl, combine the flour and salt together. Add the lime zest (save the juice for next step). Set aside.
- In a stand mixer (you can also use the hand mixer for this) add in the butter, sugar, and lime juice and beat it at medium speed, scraping down the sides for at least 2-3 minutes or until the mixture is creamy.
- Add in the eggs and beat until everything is incorporated well.
- Add the flour mixture to the butter mixture in batches and mix till the dough is formed (the dough should pull away from the sides of the bowl).
- Flatten the dough to form a disc and wrap it with plastic wrap. Refrigerate for at least an hour.
- Preheat the oven to 350 degrees F. Line a cookie sheet with with parchment paper and set aside.
- Once the dough is chilled, roll out the dough on a lightly floured surface to ¼-inch thickness and cut out Christmas tree shapes with a 3-inch cookie cutter.
- Place the cut-out cookies on the parchment paper lined cookie sett. Bake for 12-14 minutes in a preheated oven.
- Let the cookies cool for 5 minutes on the cookie sheet before transferring them to a wire rack to cool completely.
ROYAL ICING:
- Add the egg whites to a (clean and dry) stand mixer fitted with a whisk attachment and beat on high until it foams up.
- Lower the speed and add the sugar in batches and beat until the mixture becomes thick and starts to hold peaks.
- Divide the icing into 2 parts. Leave one part as it is (white) and tint the other part with pink gel food color until you get desired shade.
- Reserve ¼th of both the icing and add 1-2 teaspoons of water to the remaining icing to make them a little thin.
- We will use thick icing to make the border around the cookies (Because it’s thicker and no water has been added it will hold its shape well). The thinner icing will be used to cover the cookies completely.
- Put all the icings in different icing bags.
- Outline the cookies with the thick icing first, keeping a little space on the edges of the cookies. Then flood the cookies with the thinner icing; use a toothpick to spread the icing so it’s evenly filled.
- While the icing is still wet, sprinkle superfine sugar on top and let it set slightly. Immediately decorate the cookies with different sprinkles (sugar pearls and sugar sprinkles) while the icing is still slightly wet.
- Serve and enjoy.
Notes
- Store sugar cookies in an airtight container for 3-4 days at room temperature or for 7-10 days in the refrigerator.
- Make the cookies ahead and decorate them later whenever you have time. Store the baked cookies in the freezer until ready to thaw and use.
- You can add 2 teaspoons of vanilla extract to the cookies in place of lime zest and lime juice if you like.
- Add 1 teaspoon of vanilla extract to the icing for added flavor if you like.
- If you are not into fancy decorating then you can just make the background on cookies and sprinkle some Christmas sprinkles randomly over the cookies while the icing is wet.
- Not a fan of royal icing? Use our sugar cookie frosting with sprinkles instead!
- See blog post for more recipe tips and tricks.
Nutrition Information:
Yield:
24
Serving Size:
1 cookie
Amount Per Serving:
Calories: 265Total Fat: 8gSaturated Fat: 5gTrans Fat: 0gUnsaturated Fat: 3gCholesterol: 36mgSodium: 28mgCarbohydrates: 45gFiber: 1gSugar: 29gProtein: 3g
*Nutrition facts are an estimate and not guaranteed to be accurate. Please see a registered dietitian for special diet advice.


